
WPA2 Enterprise Wireless Security with Synology RADIUS Server and DD-WRT

As the growth of wireless devices is increasing and BYOD trend continues to grow in popularity, a large amount of critical information is transferred over a wireless network. Yet the majority of companies is still using WPA2 Personal security mode. WPA2 Enterprise uses IEEE 802.1X, which offers enterprise-grade authentication.

WPA2 Enterprise offers a lot of benefits, some of which include:

  1. Prevents traffic snooping
  2. Enables enhanced security methods
  3. eliminates the security risk of shared password

While connection using WPA2 Personal is encrypted, everyone connected to the wireless network uses the same password. Thus system administrator can’t monitor who is connected to the network and more importantly, the connection between an access point and each user is encrypted using the same key. So if one user gets compromised and the password gets stolen, intruder is able to snoop all traffic across the wireless network.

Another benefit of using WPA2 Enterprise with RADIUS is that each user can connect with his login credentials on multiple locations. Eduroam is a good example of such network.

RADIUS diagram
RADIUS diagram

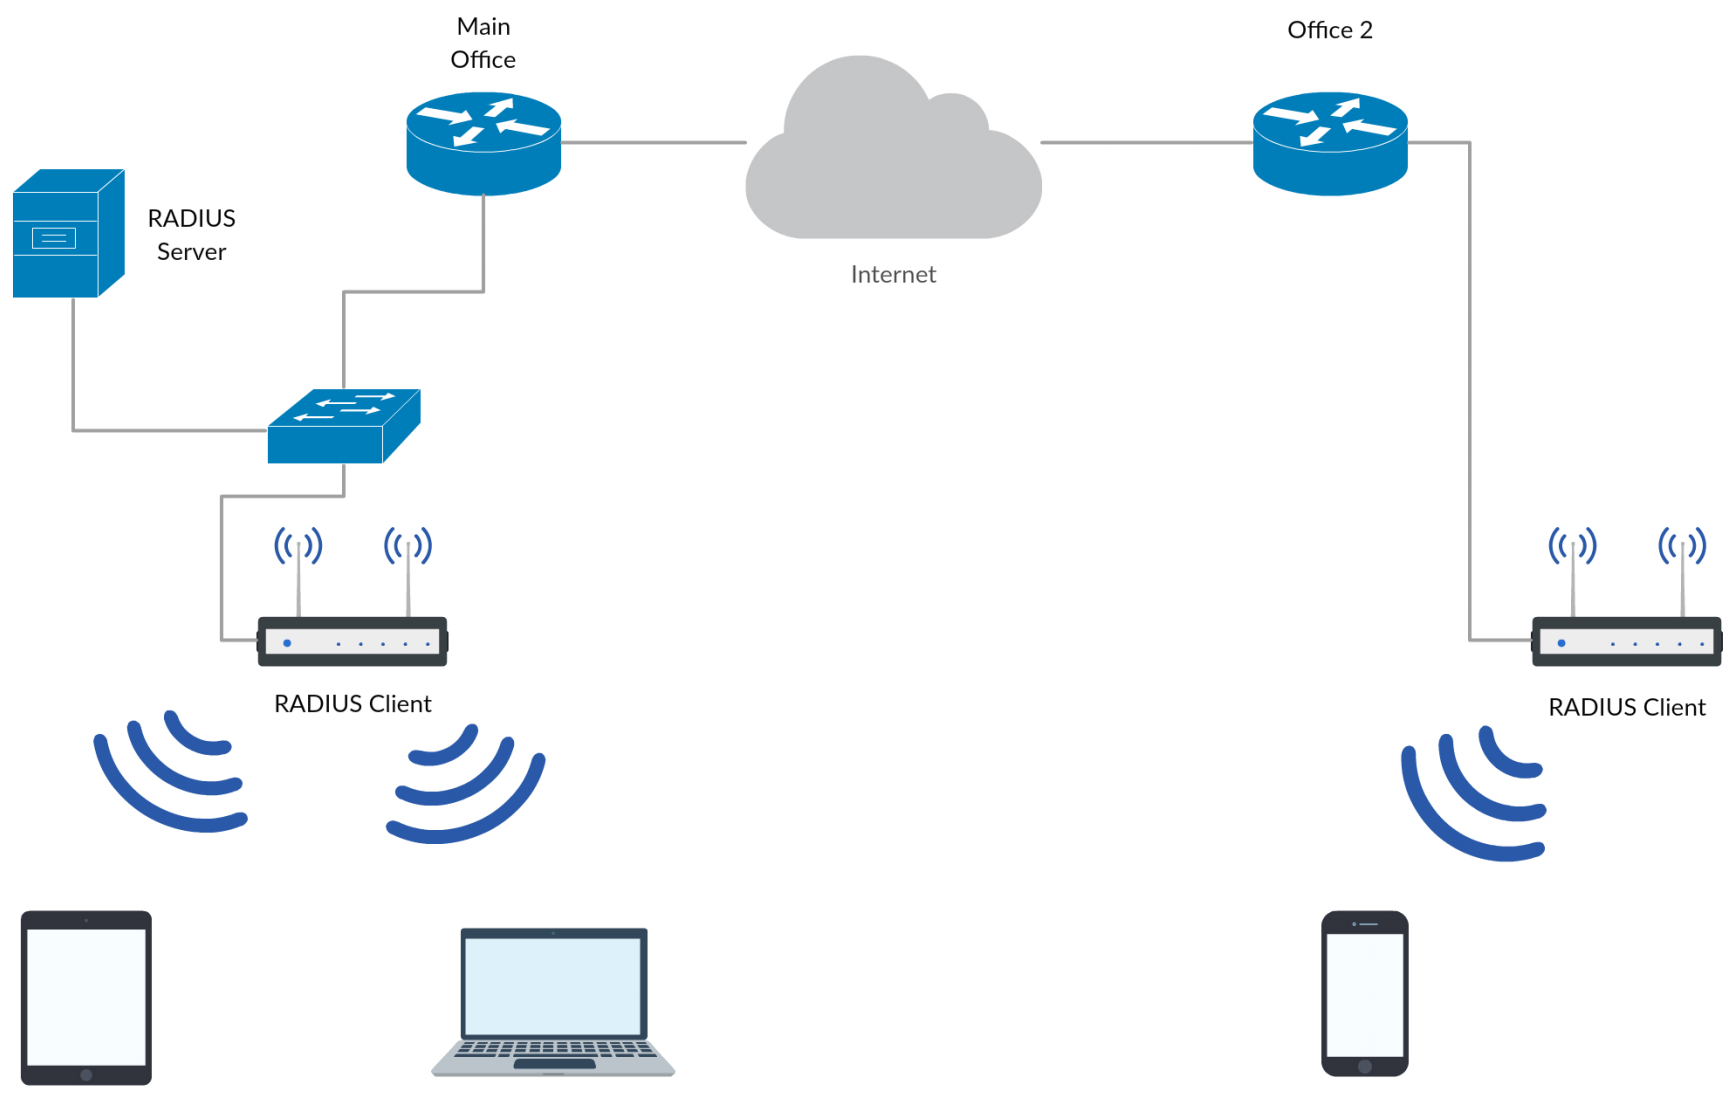
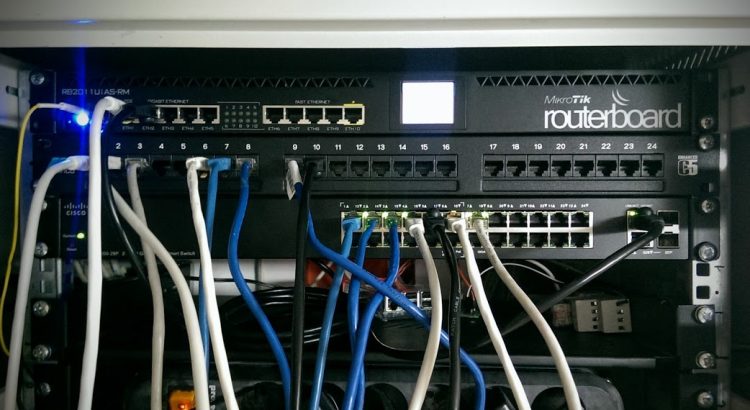
Setting up WPA2 Enterprise WiFi on DD-WRT is quite simple. For my setup I used Synology DS716+ and TP-LINK TL-WR1043ND with DD-WRT installed on it.

To set everything up, you need to install RADIUS Server Package on Synology. Then open RADIUS Server and head to Clients tab to add them. Clients are actually wireless access points, not end devices.

RADIUS Server on Synology

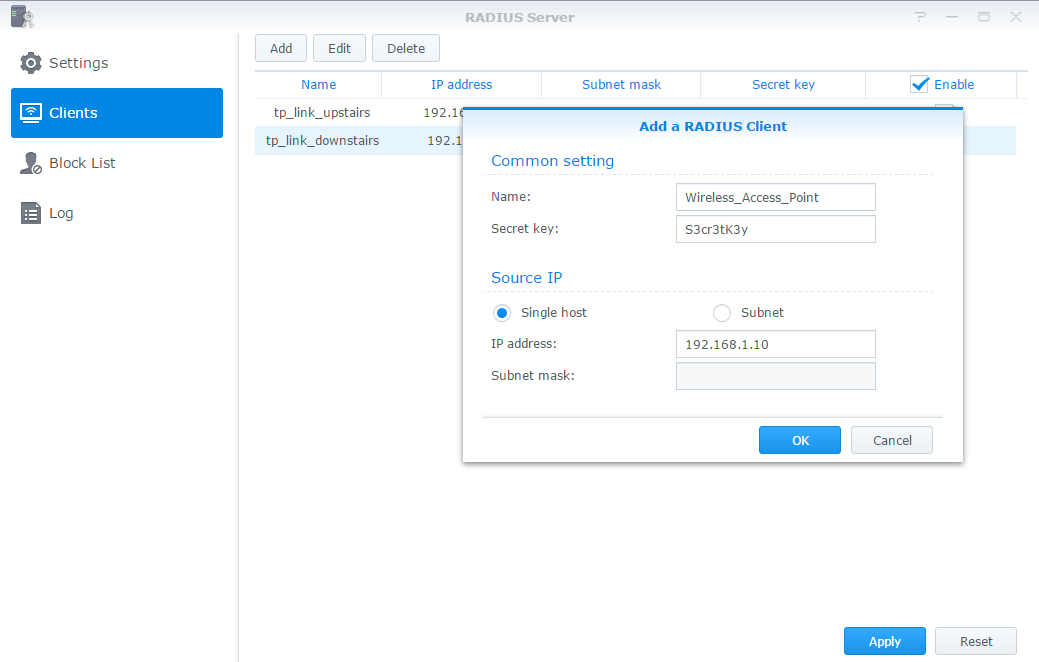
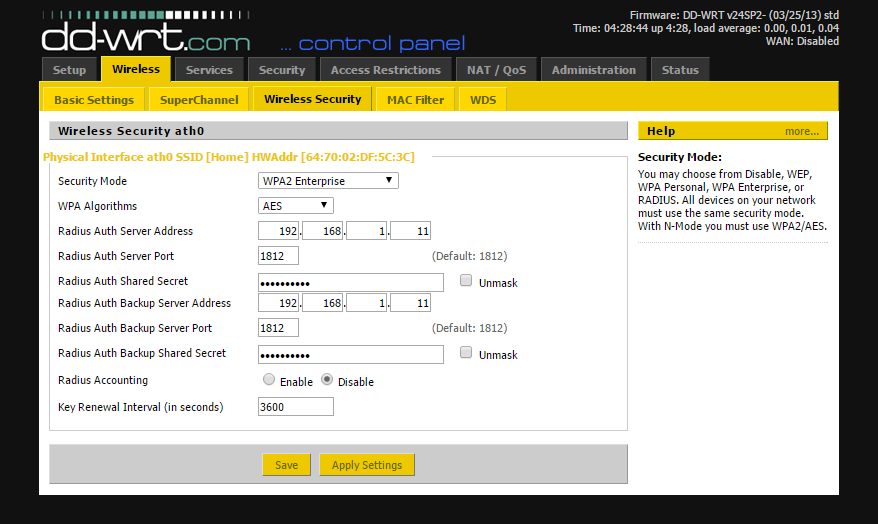
That is all you need to do for basic configuration on your Synology. Now you need to access dd-wrt router and go to Wireless -> Wireless Security. For security mode choose WPA2 Enterprise and AES Algorithm. Then enter the IP of your Synology running RADIUS Server and port which is default 1812 if you didn’t change it. And lastly Auth Shared Secret.

DD-WRT
DD-WRT


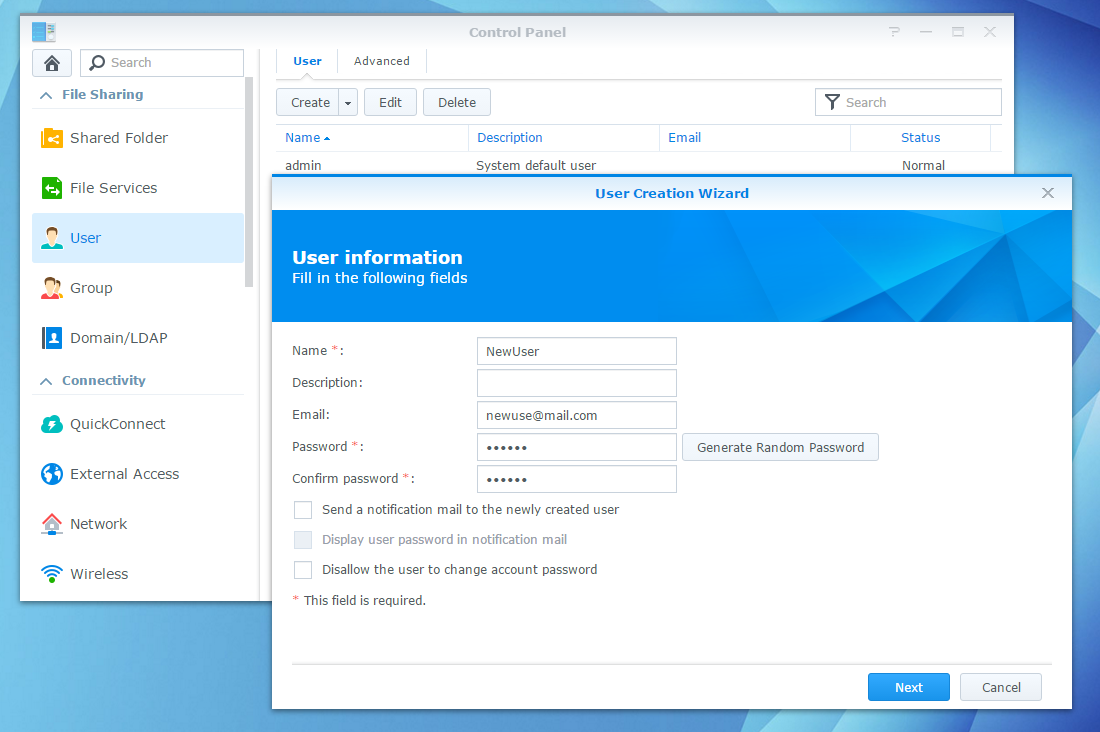
If you configured everything correctly, you should be able to connect to your Wireless network using credentials from your Synology DiskStation. You can add new users in Synology control panel.

Synology users
Synology users

Home Security Alarm Notification

I had security system wired to RJ-11 modem port on switch that would call a specific number if alarm was triggered. I wanted to get rid of IPS provided switch and instead plug SFP and fiber optics directly into my router. But then I couldn’t be notified of alarm because my router doesn’t have RJ-11 port for isdn and alarm system doesn’t support VOIP. So I decided to make notification system using Raspberry Pi.

First, I had to figure out how to tell raspberry whether alarm is on or off. That was quite easy. I measured the voltage on siren connectors that was 0V in the normal state, and about 12V when alarm was on. Perfect. Then I connected relay on the same connector. Now when alarm is on, both sirens and relay receive 12V.

Relay connected to siren output

I made a simple circuit, similar to one used for push button for Raspberry Pi, but used relay instead of a button. Now when alarm switches on, relay does to and raspberry can read that through gpio. All we need now is software.

Raspberry pi 2
Raspberry pi 2
Circuit diagram
Circuit diagram

I already had installed wiringPi for accessing gpio pins:

git clone git://git.drogon.net/wiringPi
cd wiringPi
git pull origin
cd wiringPi
./build

I wrote a simple python script that checks gpio state every second. If there is a change in gpio read value, it checks its state again because I experienced false reads about twice a week due to unknown reasons. Then it runs sh script, which is used for pushing notification.

import time
import os
import RPi.GPIO as GPIO
GPIO.setmode(GPIO.BCM)
GPIO.setup(4, GPIO.IN, pull_up_down=GPIO.PUD_DOWN)

int = 0
lastState = 1
while True:
    if lastState == 1 and GPIO.input(4) == 0:
        #alarm was off and now it's on - send sms / push notification
        time.sleep(1.2)
        if GPIO.input(4) == 0:
            print 'Sending notification'
            os.system('sh /home/user/alarm/push.sh')


    if lastState == 0 and GPIO.input(4) == 0:
        #alarm is on
        print 'Alarm is still on'

    if lastState == 1 and GPIO.input(4) == 1:
        #alarm is off

    if lastState == 0 and GPIO.input(4) == 1:
        #alarm was on and now it's off
        print 'Alarm is now off'
        lastState = 1
    
    lastState = GPIO.input(4)
    time.sleep(1)

I used pushbullet for pushing notification to my phone. They provide API for pushing notification via curl. I could also use SMS service provider to send SMS to my phone instead of pushbullet through API, but since I have data plan for my phone, I don’t need it.
Here is the shell script

#!/bin/bash

API="pushbullet api id"
MSG="Alarm is turned on!"

curl -u $API: https://api.pushbullet.com/v2/pushes -d type=note -d title="Alarm" -d body="$MSG"

I run some tests to see if everything is working like it should, then I added cronjob for executing python script at reboot and set notifications for other family members.

pushbullet
pushbullet